
Six Home Maintenance and Repair Do It Yourself Jobs
There are many typical home repair, safety, or maintenance issues that everyday home owners encounter. There are also many simple maintenance tips and tricks that even a novice home owner can follow to improve the quality of their life and property and possibly even save them thousands of dollars in future repairs or problems.
Here is a simple list of 6 everyday home maintenance tips that this home inspector thinks every home owner should consider to keep their home in good repair.
- Proper Downspout Extensions to Avoid A Leaky Basement
When moisture penetrates into the home through the basement walls it comes in from the outside, and more often than not the outside is where the problem should be dealt with. The number one cause for water penetration in the basement is water being discharged right alongside the foundation wall, all drain water should discharge a minimum of five feet from the foundation.
All gutters should be cleaned regularly. If the gutters get full of debris they will be almost entirely ineffective, water will simply flow over the debris and overfill the gutters. Cleaning gutters is easy as long as you are comfortable on a ladder. Simply move along the gutters and scoop any built up debris out using a gardening trowel.
In addition to keeping your gutters clean all downspouts should discharge water at least five feet from the home. Many downspouts discharge on the ground or a splash plate right against the home and this is a huge contributor to water infiltrating the foundation walls, getting this water away from the home will help keep it from coming in the basement. Installing an extension onto the downspout is a simple job that most home owners can tackle without any problem. Downspout extensions go right over the end of your downspout and are secured with several screws and that’s it, extend your downspout discharge away from your home and keep your basement dry.
- Install A Water Alarm In High Risk Areas
Many people don’t know but they make very simple to use and very cheap water alarms. These alarms can be purchased at your local Lowe’s, Home Depot, or other hardware stores. These alarms can be placed in any area where a potential water leak can occur such as near washing machines, water heaters, sump pumps, or other water prone areas and potentially save thousands in water damage. Most of these alarms are designed to make loud noises when water is detected but more recently more expensive ones have been put on the market that can call or text your cell phone.
- Filling Concrete Cracks In Steps, Porches, and Driveways
Cracks will occur in all stone and concrete over time. Driveways, walkways, and porches crack over time and steps are notorious for cracking at the handrail mount which can lead to step or handrail malfunction and be a safety issue. When moisture gets into these cracks or holes it can freeze and expand causing even additional damage. As a safety precaution and to extend the life of all your exterior concrete we suggest any holes or cracks be filled with vinyl concrete patcher made by Quikrete. This product can be found at your local hardware store and is very simple to use, just add water, mix, and apply to any crack or hole with a putty knife.
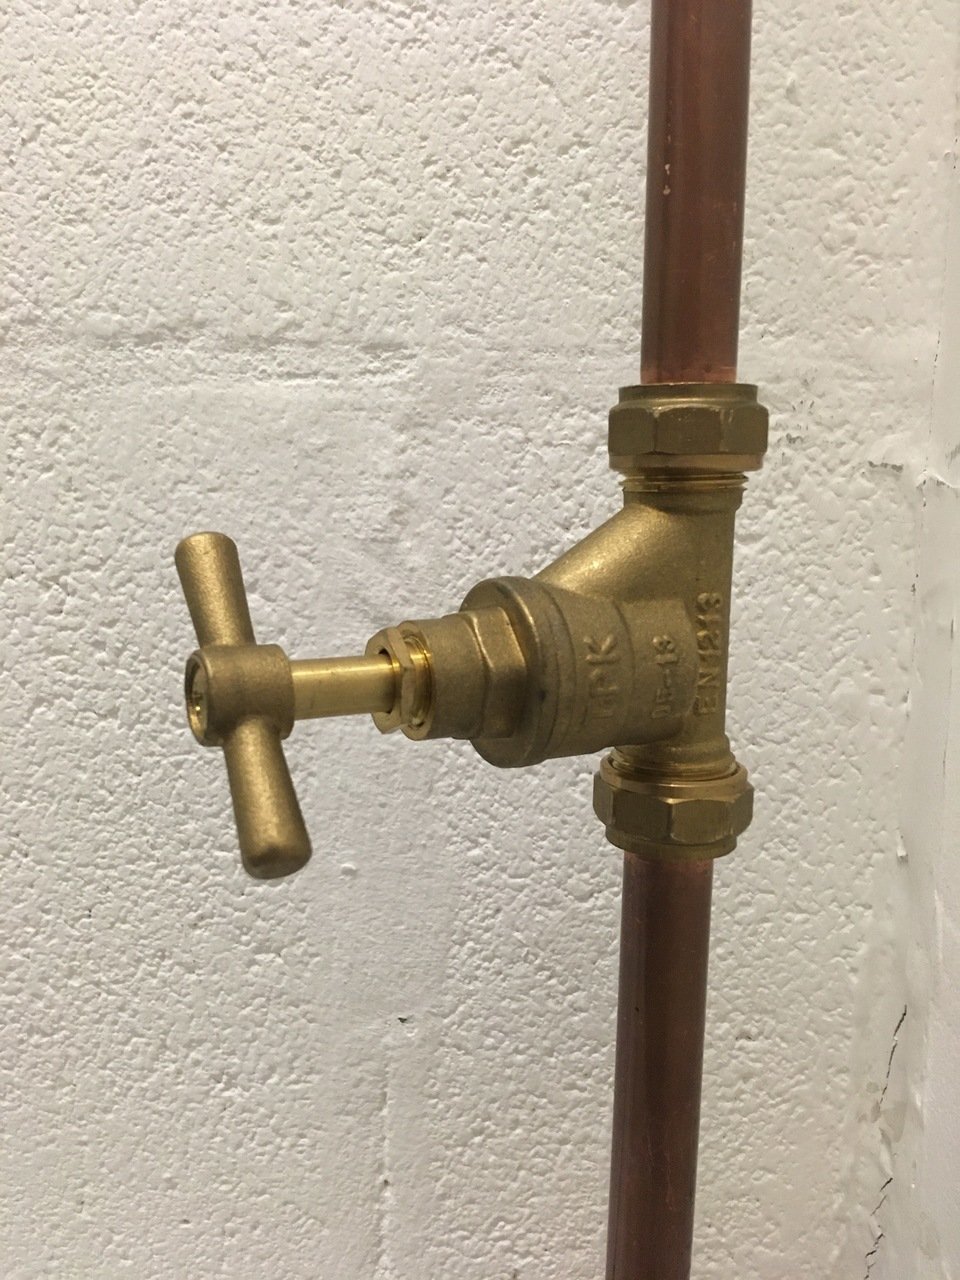
- Knowing Your Homes Main Water Shut Off Valve
This one is simple and will likely cost you nothing but could save you thousands of dollars. You would be surprised how many homeowners I come across that look at me dumbfounded when I ask where the main water shut off is. Everyone in your household should know where your homes main water shut off valve is located and how to turn it off, as an extra precaution you should even tag the shut off valve so it is easier to recognize from other valves. When there is a major water leak in the home finding and shutting off the water as quickly as possible is very important so that you can prevent as much damage as possible. The shut off valve should be tested monthly to make sure it functions smoothly and easily and doesn’t leak or fail when operated.
- Replacing A Faulty Doorbell
Every home inspection I perform I check the doorbell and a large percentage of them don’t function, it’s a very common thing to go out and people rarely replace them when they do. If the idea of wiring a new doorbell is too much work or too complicated; and it is for most do it yourselfers, there is another option. The age of technology has added a much easier solution, you can purchase a wireless battery powered doorbell. The installation of a wireless doorbell is a very simple do it yourself job. You simply mount the bell to the wall where you want it and mount the button outside near the front door, install batteries to power both sides, and you’re good to go. The button on the front door will wirelessly ring the bell in the home without any pesky wires having to be run inside the walls.
- Bathroom and Kitchen Caulk Maintenance
Caulk should be regularly maintained every couple of years, when the existing caulk becomes brittle and cracks it is time to remove and reapply to avoid moisture damage. Caulk should be applied to all joints surrounding the tub or shower, to the base of the toilet, around the sink, and any other joint or corner where water could get behind a surface and cause damage.
The most difficult part of caulking an area is removing the old caulk. You can remove the old caulk using a scrapper or a razor blade. Once the caulk is entirely removed, clean the area very well with any good household cleaner, caulk will not adhere to a dirty surface. Wipe the clean area down with alcohol to remove any soap or residue so the caulk will adhere and seal properly. Be sure to purchase caulk that is designed for kitchen and bathrooms or it may not water proof properly, in addition to the caulk tube itself you will need an application gun designed to squeeze the caulk out of its specialized tube, and these can be purchased at any hardware store for a few dollars.
When it comes to actually applying the new caulk the secret to having your finished caulk joint look like it was done professionally is all in the way the excess caulk is removed after application. Immediately after you run a constant stream of caulk right along the joint you are caulking use a small wet sponge to wipe down the caulk, you will need to frequently rinse the sponge in a bucket of warm water. The sponge will push the caulk into the small cracks and crevices giving you the best seal as well as make the finished caulk look consistent and well applied. Let the caulk dry for 24 hours before touching it or using the tub or shower around it.
For top home inspections performed in the Saint Louis area please visit Absolute Home Inspection Services. You will receive a detailed narrative report with many pictures and each home inspection includes a free home energy audit and report. Saint Louis Home Inspections